


17.6 Photographer Workflows
As a photographer, you can use NeoFinder in a multitude of your workflows, we try to list them all here and give you ideas and notes to improve your workflows with NeoFinder as well.
1. Ingest photos
To be able to use the new photos you have just shot, you first want to transfer them onto your Mac. Depending on the camera equipment you use, they may be special software for it, or you can just use the simple tool Image Capture for that job. You can find it in your Applications folder.
If you do this a lot, and you need a better integration of that process into NeoFinder, please contact us, we are actually working on something there.
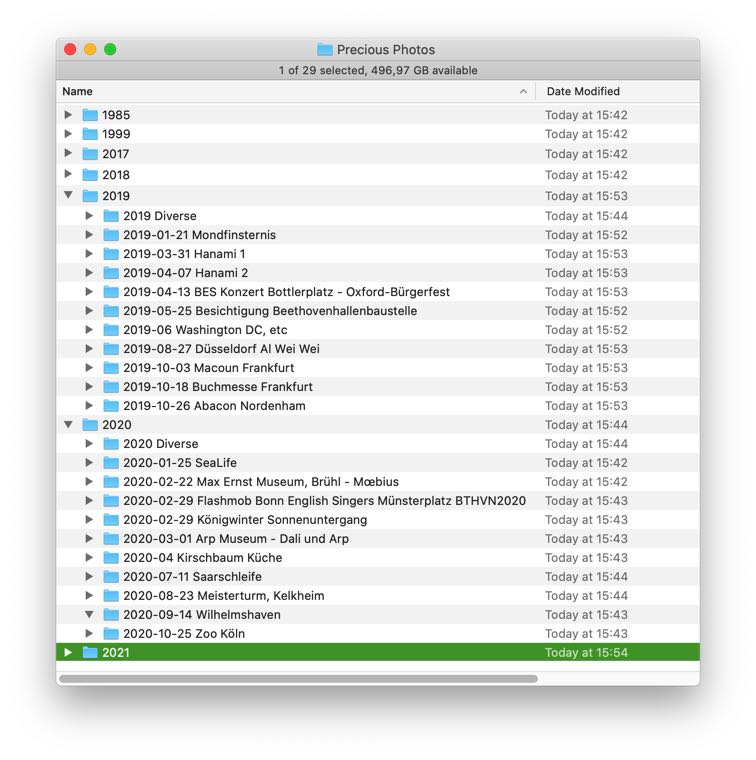
It is a truly great idea to ingest your new photos into a clear folder structure. Most people use a separate folder for each year, and subfolders for the separate locations, shootings, or projects.
Tip: Add the client number or client name, or the job number, and more details to the folder names, to make it easier to locate the data later with NeoFinder. This also allows you to specify these names in the "Path contains" search parameter of the NeoFinder Find Editor.
Tip: Use the year, month, and day of the shooting as the first parts of the name, to make sorting by date easier.
Tip: Also create a folder called "Diverse" or such, for photos not associated to a specific project, but still worth to be kept around.
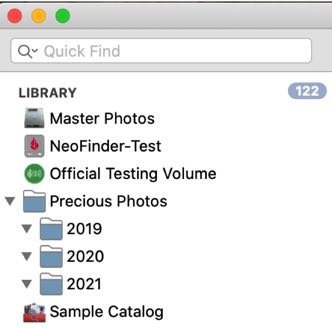
A typical data folder structure on your disk could look like this:
2. Catalog project folders in NeoFinder
When the photos are placed in the folders on your disk, create the year folders as catalog folders in NeoFinder:
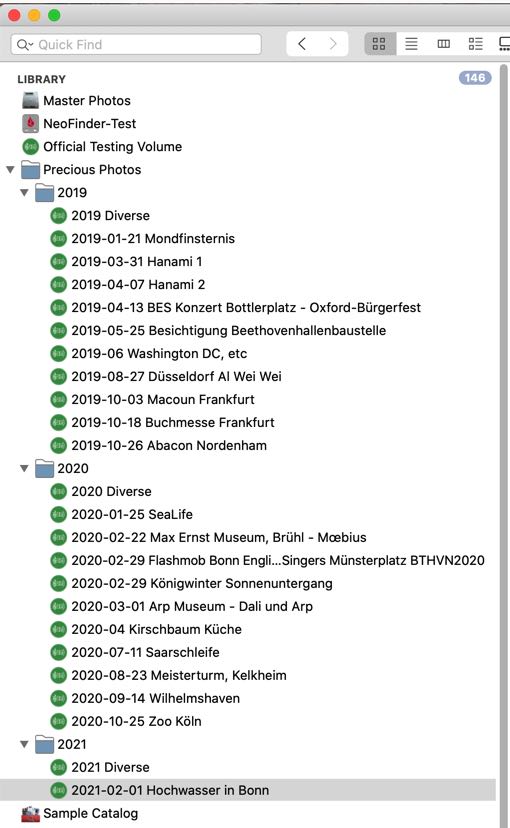
Then catalog the project folders and place them in the year folders of NeoFinder.
The cool thing is that you can drag multiple folders into NeoFinder at once, and NeoFinder will catalog all of them in parallel, while you can keep working on your other data already. The result will look like this.
The separate cataloging of your project folders has huge advantages.
First, you only need to Update catalogs of the current folders you are working on, or adding new folders to your NeoFinder LIBRARY.
Second, this allows NeoFinder to search your data in parallel with all CPU power your Mac has.
And last, you don't need to Update an entire huge disk when you only made changes to a specific project folder, saving you a lot of time.
3. Cull photos
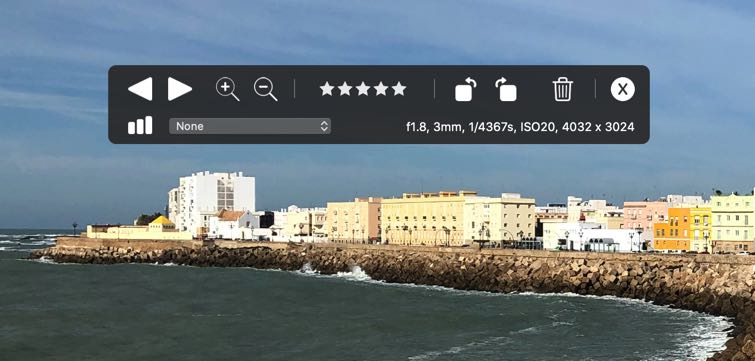
When your images have been cataloged in NeoFinder, use the Light Table to view and cull your photos.
Here, you can rotate images, delete bad ones, add ratings, color labels, and check out every single pixel of any photo, if needed.
4. Rename photos
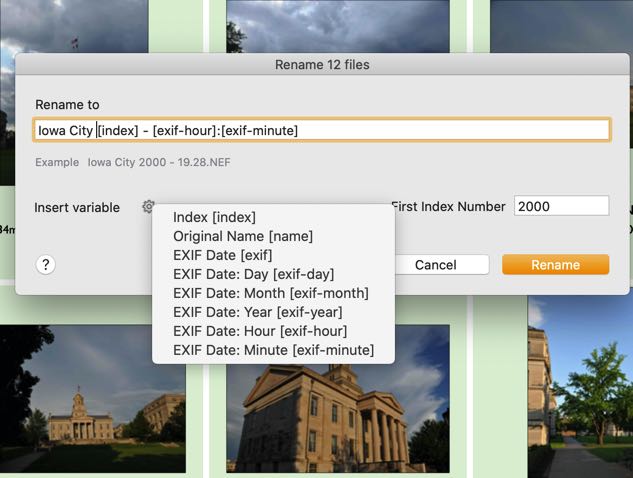
You may wish to rename the good images, for example to contain a project or client name.
Just select the photos in NeoFinder, and use the Multi Renamer for this.
5. Tag photos
A very important step into later finding your images is to tag them. This means adding metadata to your photos that will later allow you to find them. We know this is usually a lot of work, and people don't like doing it, but the larger your photo collection gets, the more important this is. NeoFinder helps you in many ways to make this easier and fast.
The powerful XMP Editor in NeoFinder can help you with that. Here, you can add keywords, ratings, descriptions, places and people information to your photos.
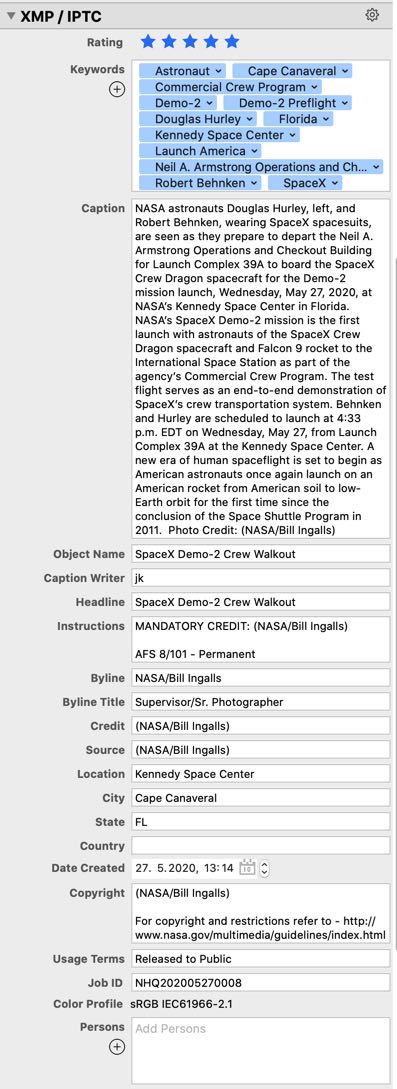
Of course, you can add your own custom annotation fields and attach any important information to them within NeoFinder as well.
Use XMP Metadata Presets in NeoFinder to quickly assign entire sets of this data to new images with a single click to as many photos as you want.
If you took photos while traveling, you may wish to add or review GPS geotags.
Tip: When your "big" camera has no GPS chip, use your iPhone to take one "establishing shot" with a GPS tag of new places you shoot. Then later ingest that photo as well, and use NeoFinder to copy and paste that GPS geotag to all photos taken with the "big" camera.
Or check out the Wikipedia Inspector in NeoFinder to see what interesting places you have visited, or what building may be present in your photos. One simple click will transfer the desired place description to the XMP caption field for you.
6. Backup photos
This is the most important step of them all, because you want to make sure you don't lose any of your photos, or any of the work you have placed into tagging and sorting them. Make a backup. Better, make two!
You do know that every single disk on this planet will fail one day, right? It is not a question of if, but of when. So be prepared for failed disks, and keep current backups of your data around and another one in a safe place off-site.
Some people use web services as backups, but keep in mind that the companies offering them give you no guarantee, so any such web baes backup can only be additional, never ever the only backup you have. If you have any important data stored only in a web service, and nowhere else, you may as well delete it already, because you have pretty much lost it already.
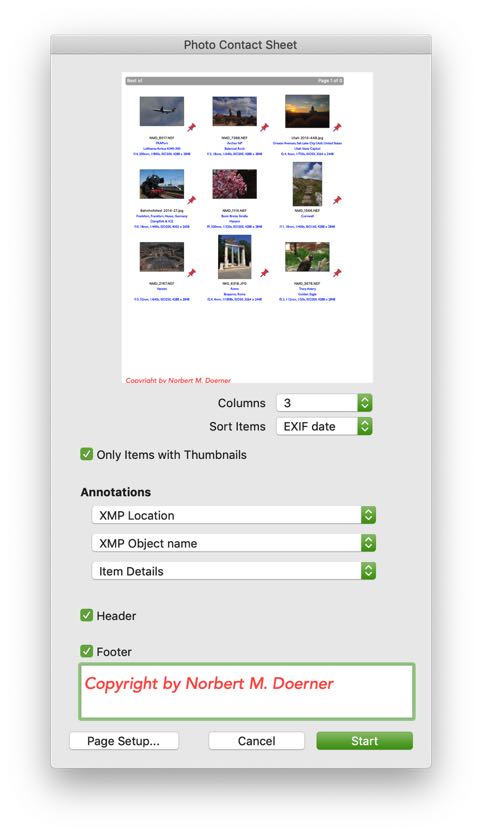
7. Contact Sheet
To give other people or clients access to an overview of your photos, or a selection of them, use the Photo Contact Sheet. It will generate a nice looking PDF document with thumbnails and the metadata you want your clients to see.
8. Web Gallery
Another option is a web gallery, which generate HTML files that you can upload to a web server. NeoFinder comes with two simple schemes already, but it uses the iView MediaPro web gallery templates, so you have use existing ones, or have them programmed for your needs.
9. Backup
Did you make that backup already? No really, make sure you have two that are current, and actually still readable!
To make sure of that, use the FileCheck values in NeoFinder, to help you discover things like "bit rot".
Next
17.1 Photo Contact Sheet
17.2 Adobe XMP, EXIF and IPTC meta data
17.3 Lossless picture rotation
17.4 Edit the EXIF creation date
17.5 Truncate JPG files
17.6 Photographer Workflows
17.7 Photo Export
17.8 Astronomy data
17.9 Watermark Presets
17.10 QuickEdit
17.11 Unique Photo ID
5.8 Find Similar Photos