


13.3 Metadata Presets
While the XMP editor in NeoFinder already is a great tool to add all kinds of important metadata to your photos and movies, it is also important to be able to generate standard XMP metadata presets, and to be able to quickly apply them to a whole lot of files at once.
Introducing the Metadata Presets Editor!
Open it quickly with the new command in the Window menu of NeoFinder:
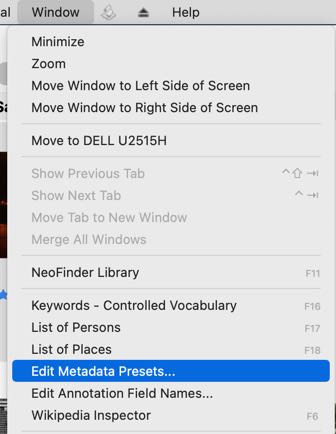
The Metadata Editor window will be displayed immediately for you.

On the left part of the window, you will see a list of all existing presets, sorted by name. You can add new ones, or removing existing presets by using the + and - buttons underneath the list.
It is of course also possible to rename a preset simply by clicking into its name.
When you select a preset, the right part of the editor will show you all the XMP fields that NeoFinder understands, and what value that preset should contain for each field.
Please note the checkbox right next to each XMP field. This checkbox controls whether or not the content of that field will be applied if the preset is is actually used. That way, you can leave a field empty, but select the checkbox for it, and thus deleting any previous content of this field when the preset is applied.
NeoFinder indicates that behaviour by changing the color of the field description to red, and adding some help text to that field:

Important! Please use the Save button to save any changes you have made to a preset! That is required to actually really save your changes. If you select a different preset, any changes you have made to the currently selected preset will be lost, if you did not save them.
Export and Import Presets
As NeoFinder currently stores your presets only locally on your own Mac, you may wish to export the presets so they can be used on other NeoFinder installations as well. To do that, simply select a preset, and use the Export command in the little "gear" menu underneath the list:
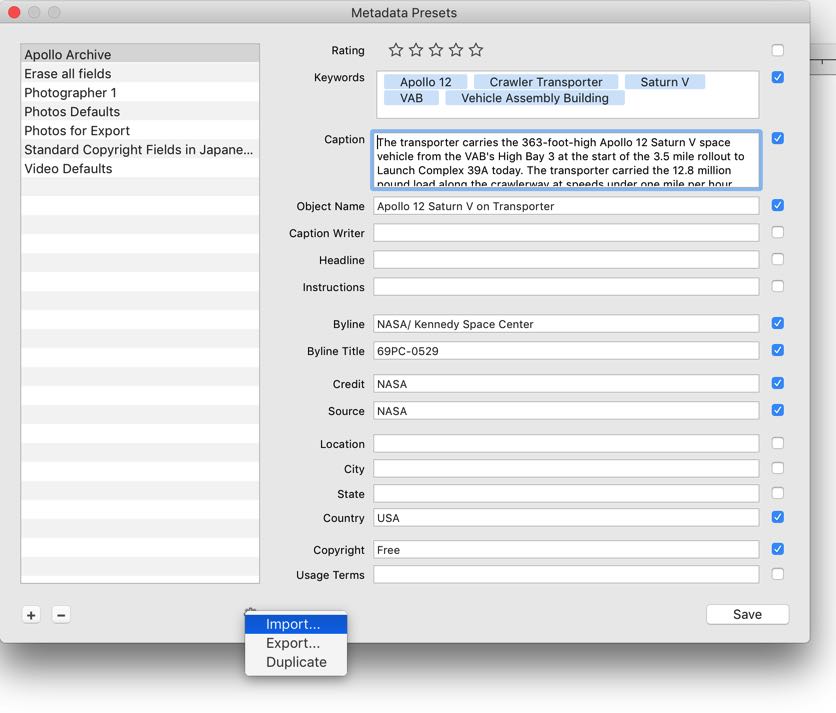
Then you can export the preset into a ".nfpreset" file. The Import option will of course allow you to import existing ".nfpreset" files from other Macs.
Also available in that menu is the option to quickly duplicate an existing preset.
Apply a Preset
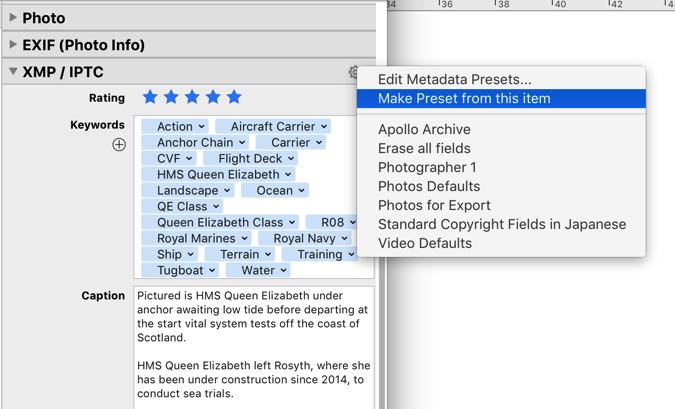
Once you have completed your presets, it is incredibly easy to apply them to one file, or a whole set of selected files. Just use the new Presets menu that appears on the right edge of the XMP editor title. If you click on that new button, NeoFinder will display the entire list of your presets for you:
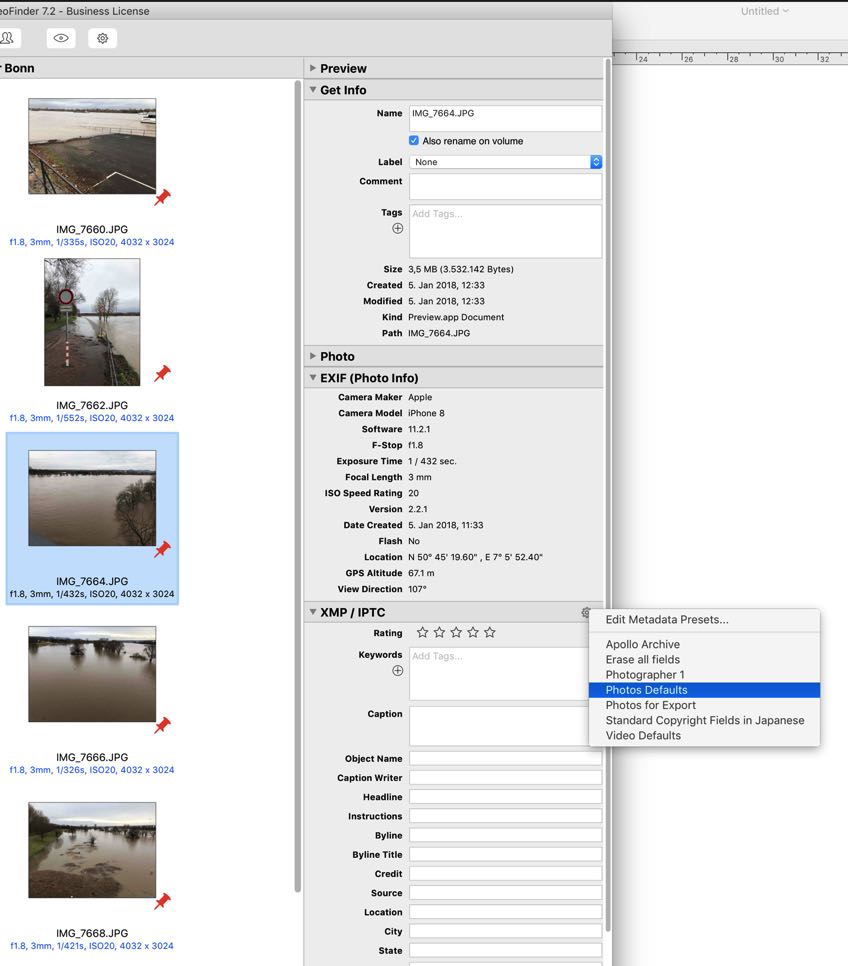
Select one of the presets from the menu, and NeoFinder will immediately apply it to the selected files.
That is all!
With just a single click, you can now assign a lot of valuable XMP data to any number of files. It really is that easy!
Please note that the new Presets button will only appear in the XMP editor if the selected file(s) are actually online, and available to NeoFinder. If they are stored on a remote or external volume, and that volume is not currently connected or mounted, NeoFinder cannot change the XMP fields, and won't display that new option.
Make Preset from File
If you already have a well tended XMP metadata archive, you may wish to quickly create new NeoFinder Presets from these existing files, and that is really easy with NeoFinder.
Select the file, and use the "Make Preset from this item" command in the Presets menu.
Please note that this command only appears if the one selected file actually has some values in any XMP field.
The Metadata editor will create a new preset for you, using the name of the file, and all XMP fields. You can then of course adjust all fields to your needs, and rename that new preset as well. And please always remember to Save!
More
13.1 The XMP Editor
13.2 Hierarchical Keywords
13.3 Metadata Presets
13.4 Persons
13.5 Annotations
13.6 Places
13.7 Label Menus
13.8 Move Metadata
13.9 EXIF Editor
13.10 More Finder Info